Last week we undertook a workshop with our tutor Rick; this involved us taking portraits of other students around the university campus. I found this task really challenging as I’m a very shy person, therefore I found it very daunting to approach complete strangers and ask to take their picture. My fellow students and I faced quite a few set backs as a number of people we stopped didn’t want their picture taken; however a handful of kind people were happy to stop for a photo opportunity.
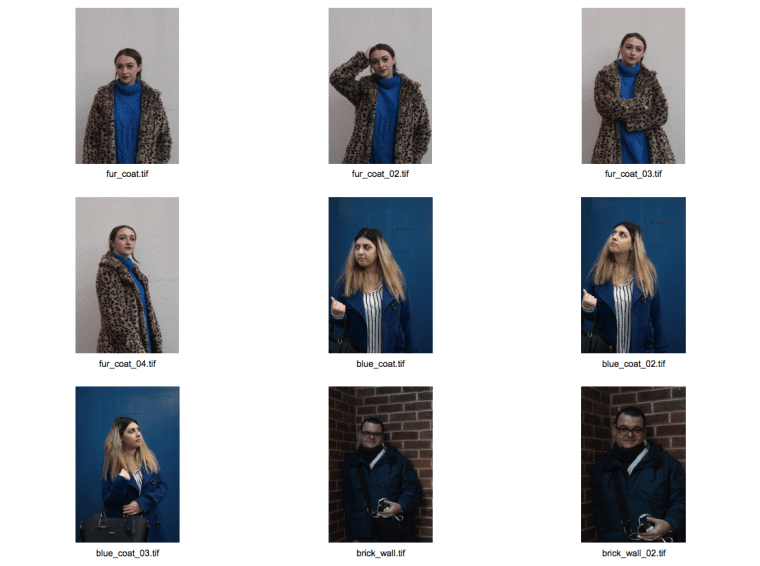
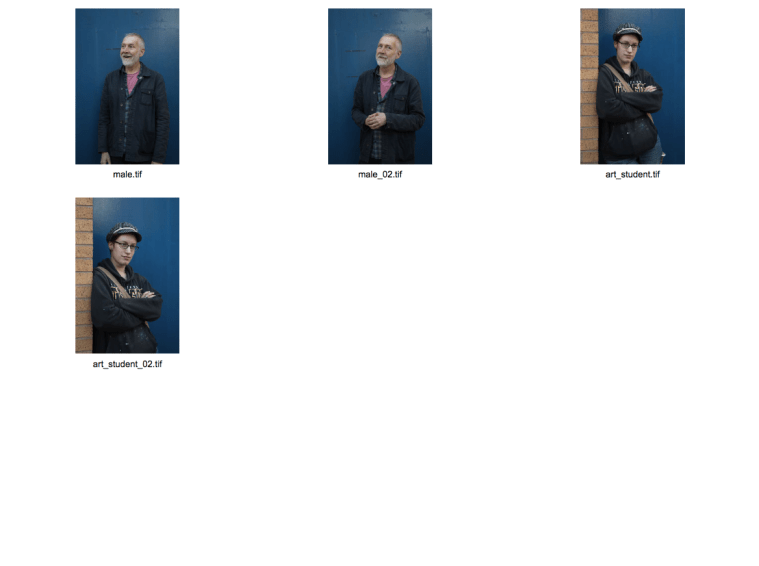
When taking and composing our images, we had to ensure a strong focus on choosing an effective, suitable background: a brick wall, a door painted a beautiful blue colour, and a simple white wall were some of the backgrounds I used for my images. These backgrounds and walls had interesting textures which are visible in the images, without overpowering the subject. We also had to take into consideration the shutter speed, aperture and ISO for each location, to ensure an appropriate and effective exposure. I found this task very helpful for practicing changing the settings on my camera and learning how to read the exposure meter.
This is a slideshow of contact sheets from the workshop:
Next, I narrowed down these images by choosing the best ones and opened them up in Camera Raw, to adjust settings such as the white balance, lens corrections and exposure, and making sure none of the whites or blacks were clipping. Once these settings were correct, I opened some of the images in Photoshop to make any necessary adjustments, such as cropping and straightening any vertical lines. I also used the spot healing tool to blur out some imperfections and distracting marks on the walls in the background.
Here are the final edited images: